Inspired by my recent review of
I decided to take another crack at making
some simple folk-art style sheep.
Over the holidays I purchased a bundle of
wool with the idea of transforming it into a flock for my table setting.
I was less than pleased with the results
(and ended up using the wool for another project).
Working with homemade pompoms turned out to be so much easier!
In no time at all you can have your own precious flock
of woolly little sheep and lambs!
Here's how:
Easy Pompom Sheep
- Chunky yarn (I used Homespun by Lion Brand, white)
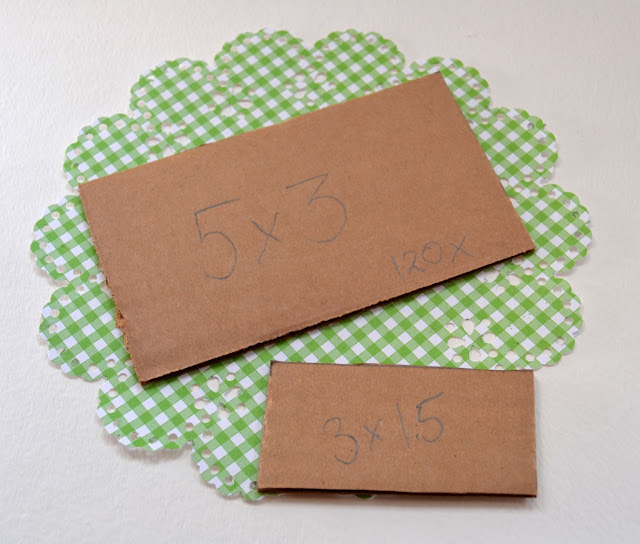
- Piece of cardboard (3x5 for the sheep or 3x1.5 for the lamb)
- Packing tape
- Scissors
- Waxed twine
- Floral wire
- Black polymer clay
- tacky glue
Step 1: Cut a cardboard rectangle to use as a form for making your pompom. Laminate the cardboard with packing tape so that it will slip easily out of the yarn.
Step 2: Wind the yarn around the cardboard form: 120 times for the large card, 75 for the small.
Step 3: Gently remove the wound yarn from the form by slightly bending the cardboard and pulling out.
Step 4: Tie twine as tightly as possible around the yarn bundle. This is where the waxed twine comes in handy. However, I didn't have any waxed twine in white, so I used regular twine. To help keep it from slipping, I tied tightly, then gave the two ends a twist before tying the final knot.
Step 5: Cut the loops. Your pompom will look something like this:
Step 6: Now it's time to give the pompom a haircut. Use sharp scissors to trim the pompom down to a smaller, thicker ball. The result will look something like this:
Step 7: Now it's time for a final haircut. Trim the pompom into an oblong shape, evening out any lumps or tufts. The finished piece will look something like this:
Step 8: Form the black polymer clay into a gumdrop-shaped head, four legs and two ears (optional). Insert a small piece of wire into each piece. The wire will help in inserting the pieces into the pompom and will help add structure and stability. It also helps to make the finished figure poseable. Bake clay pieces at 200 degrees F for 20 minutes on a piece of foil. For the lamb, do not wire the ears (they're too small and the wire will make them extra fragile).
Step 9: Decide where you want to insert the head. Then part the wool where you plan to place it. Put a small dab of tacky glue there. At this point you may want to trim the wire on the head piece if it is too long.
Step 10: Insert head, wire first, then gently press yarn back into place. If adding ears, apply glue directly to wire, then insert.
Step 11: Part wool where you want to insert the legs and add a dab of glue. Trim wire if necessary. Insert legs.
Step 12: Flip sheep back over and make sure that legs stand flush to surface. Adjust if necessary. When glue has dried, the piece is ready.


No comments:
Post a Comment